Servo motors
Create new circuit and call it "Servo motors".
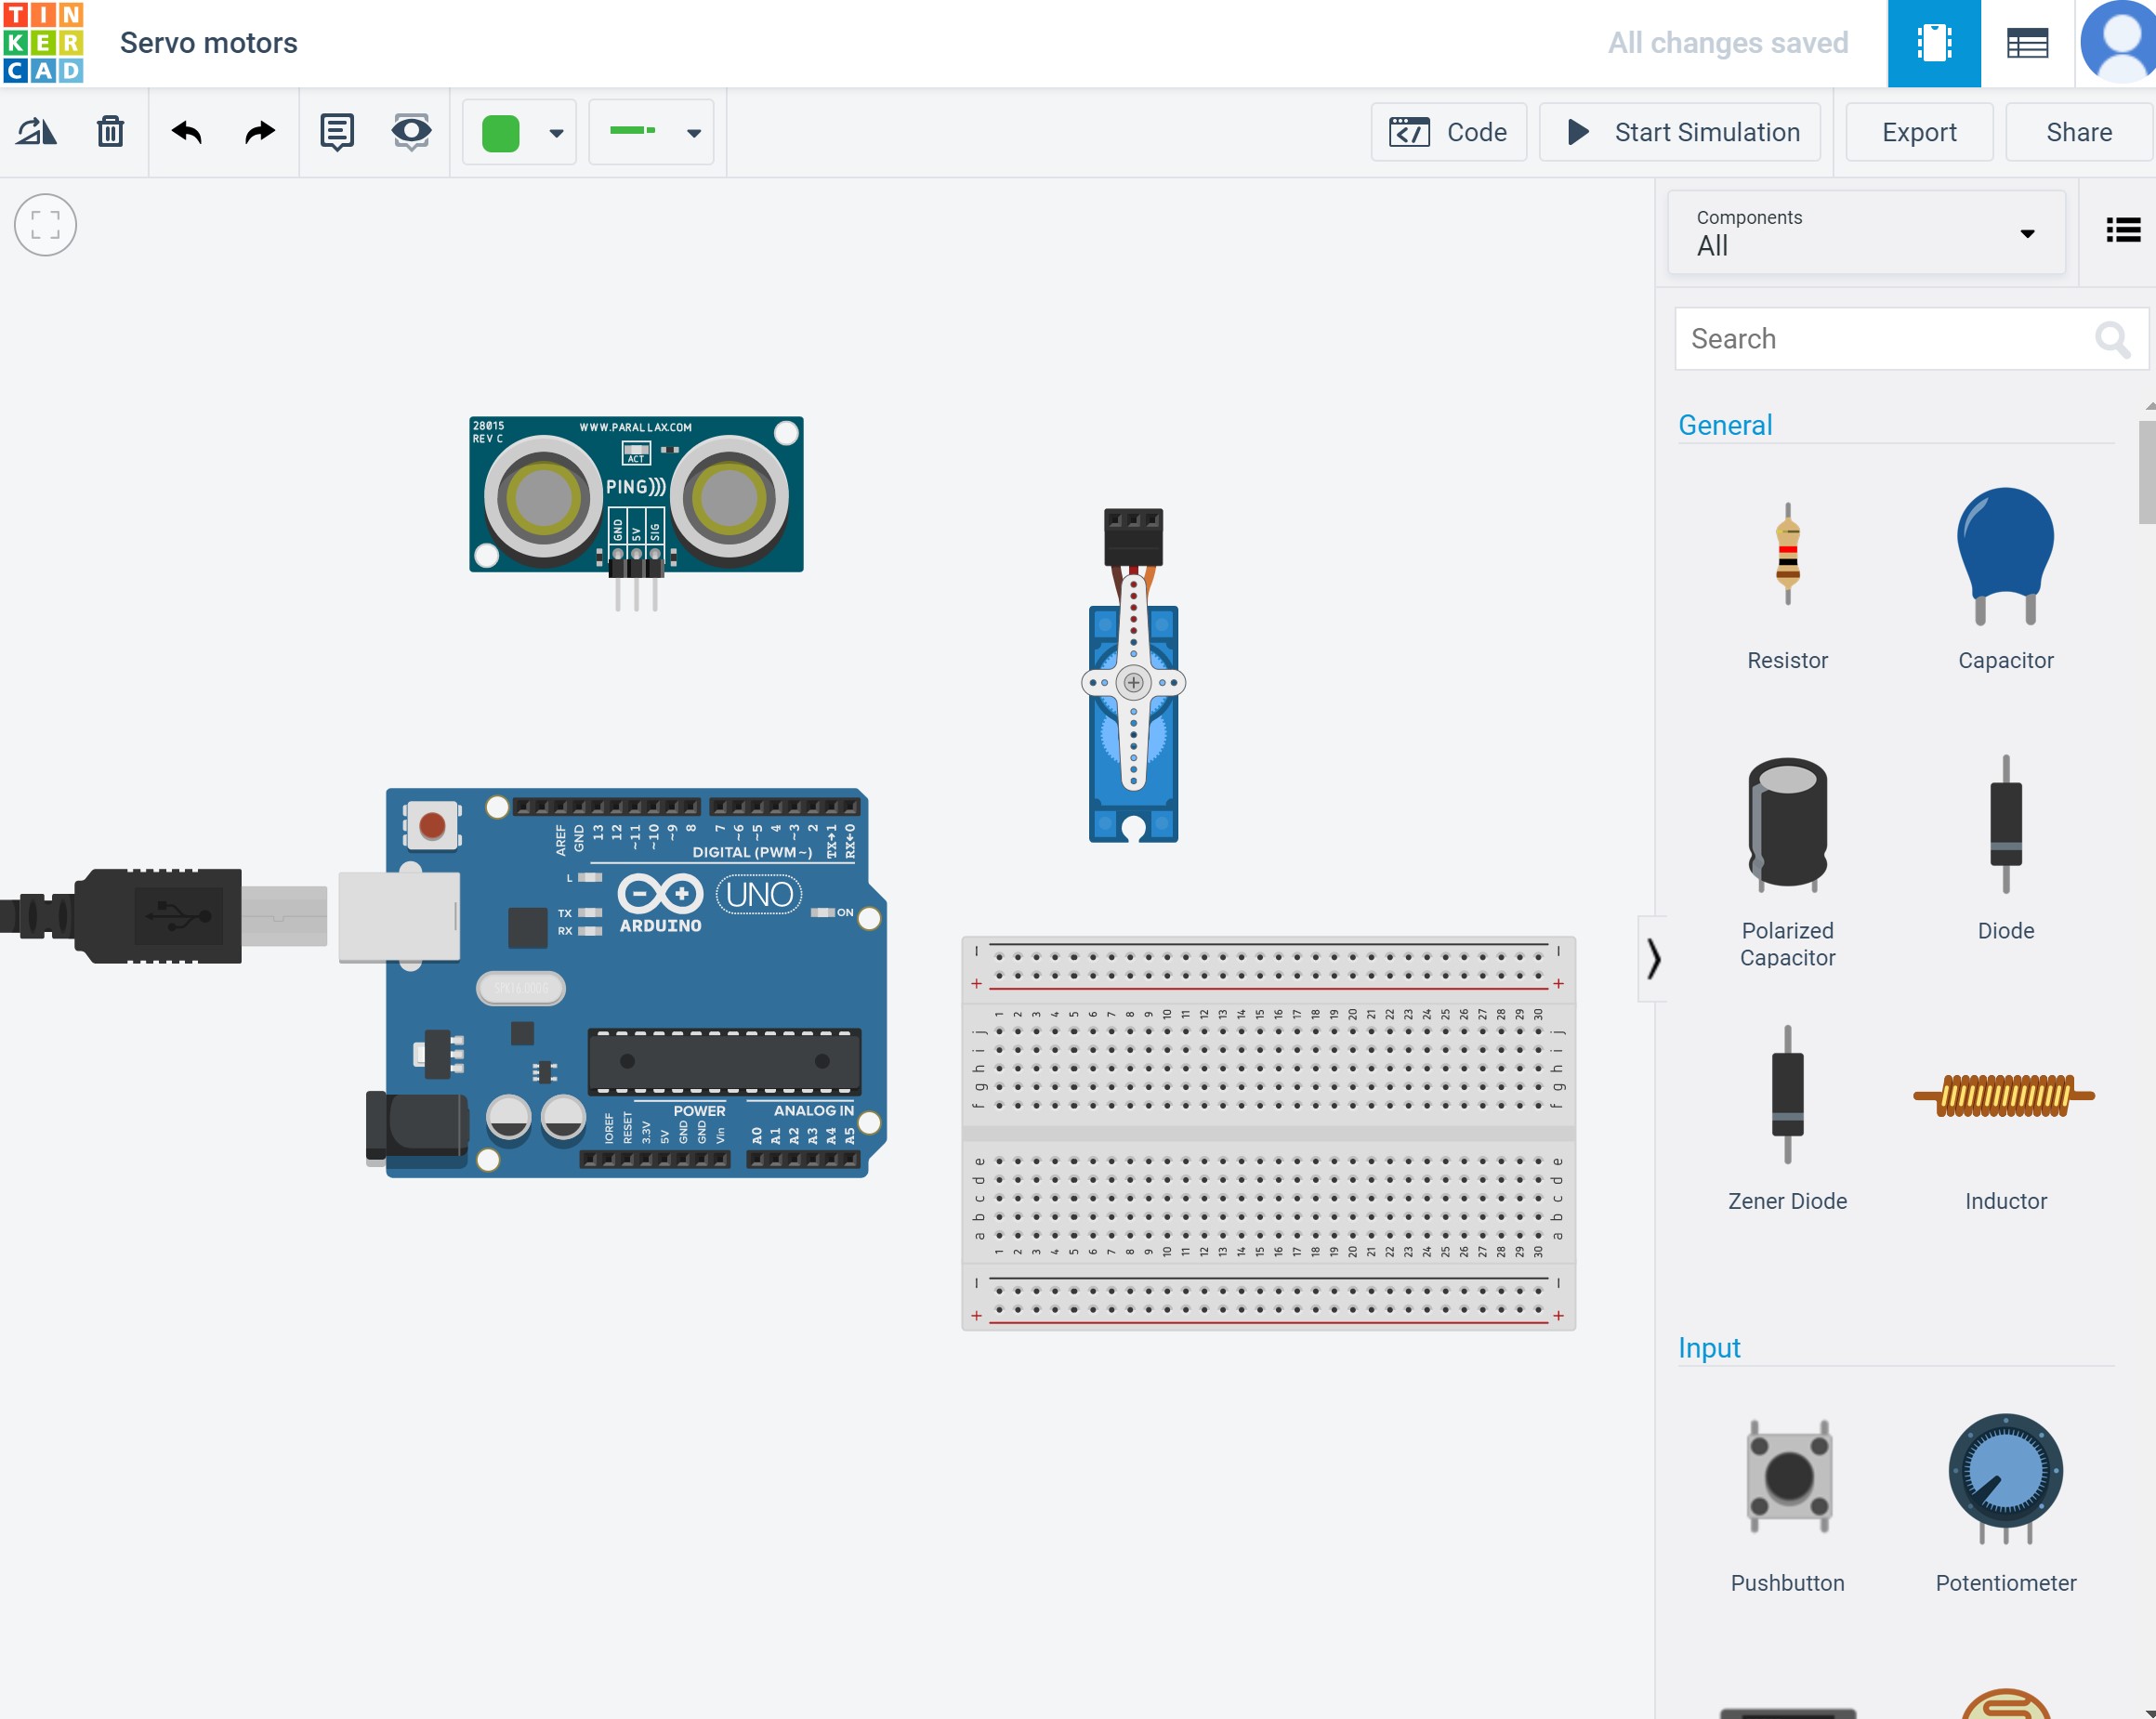
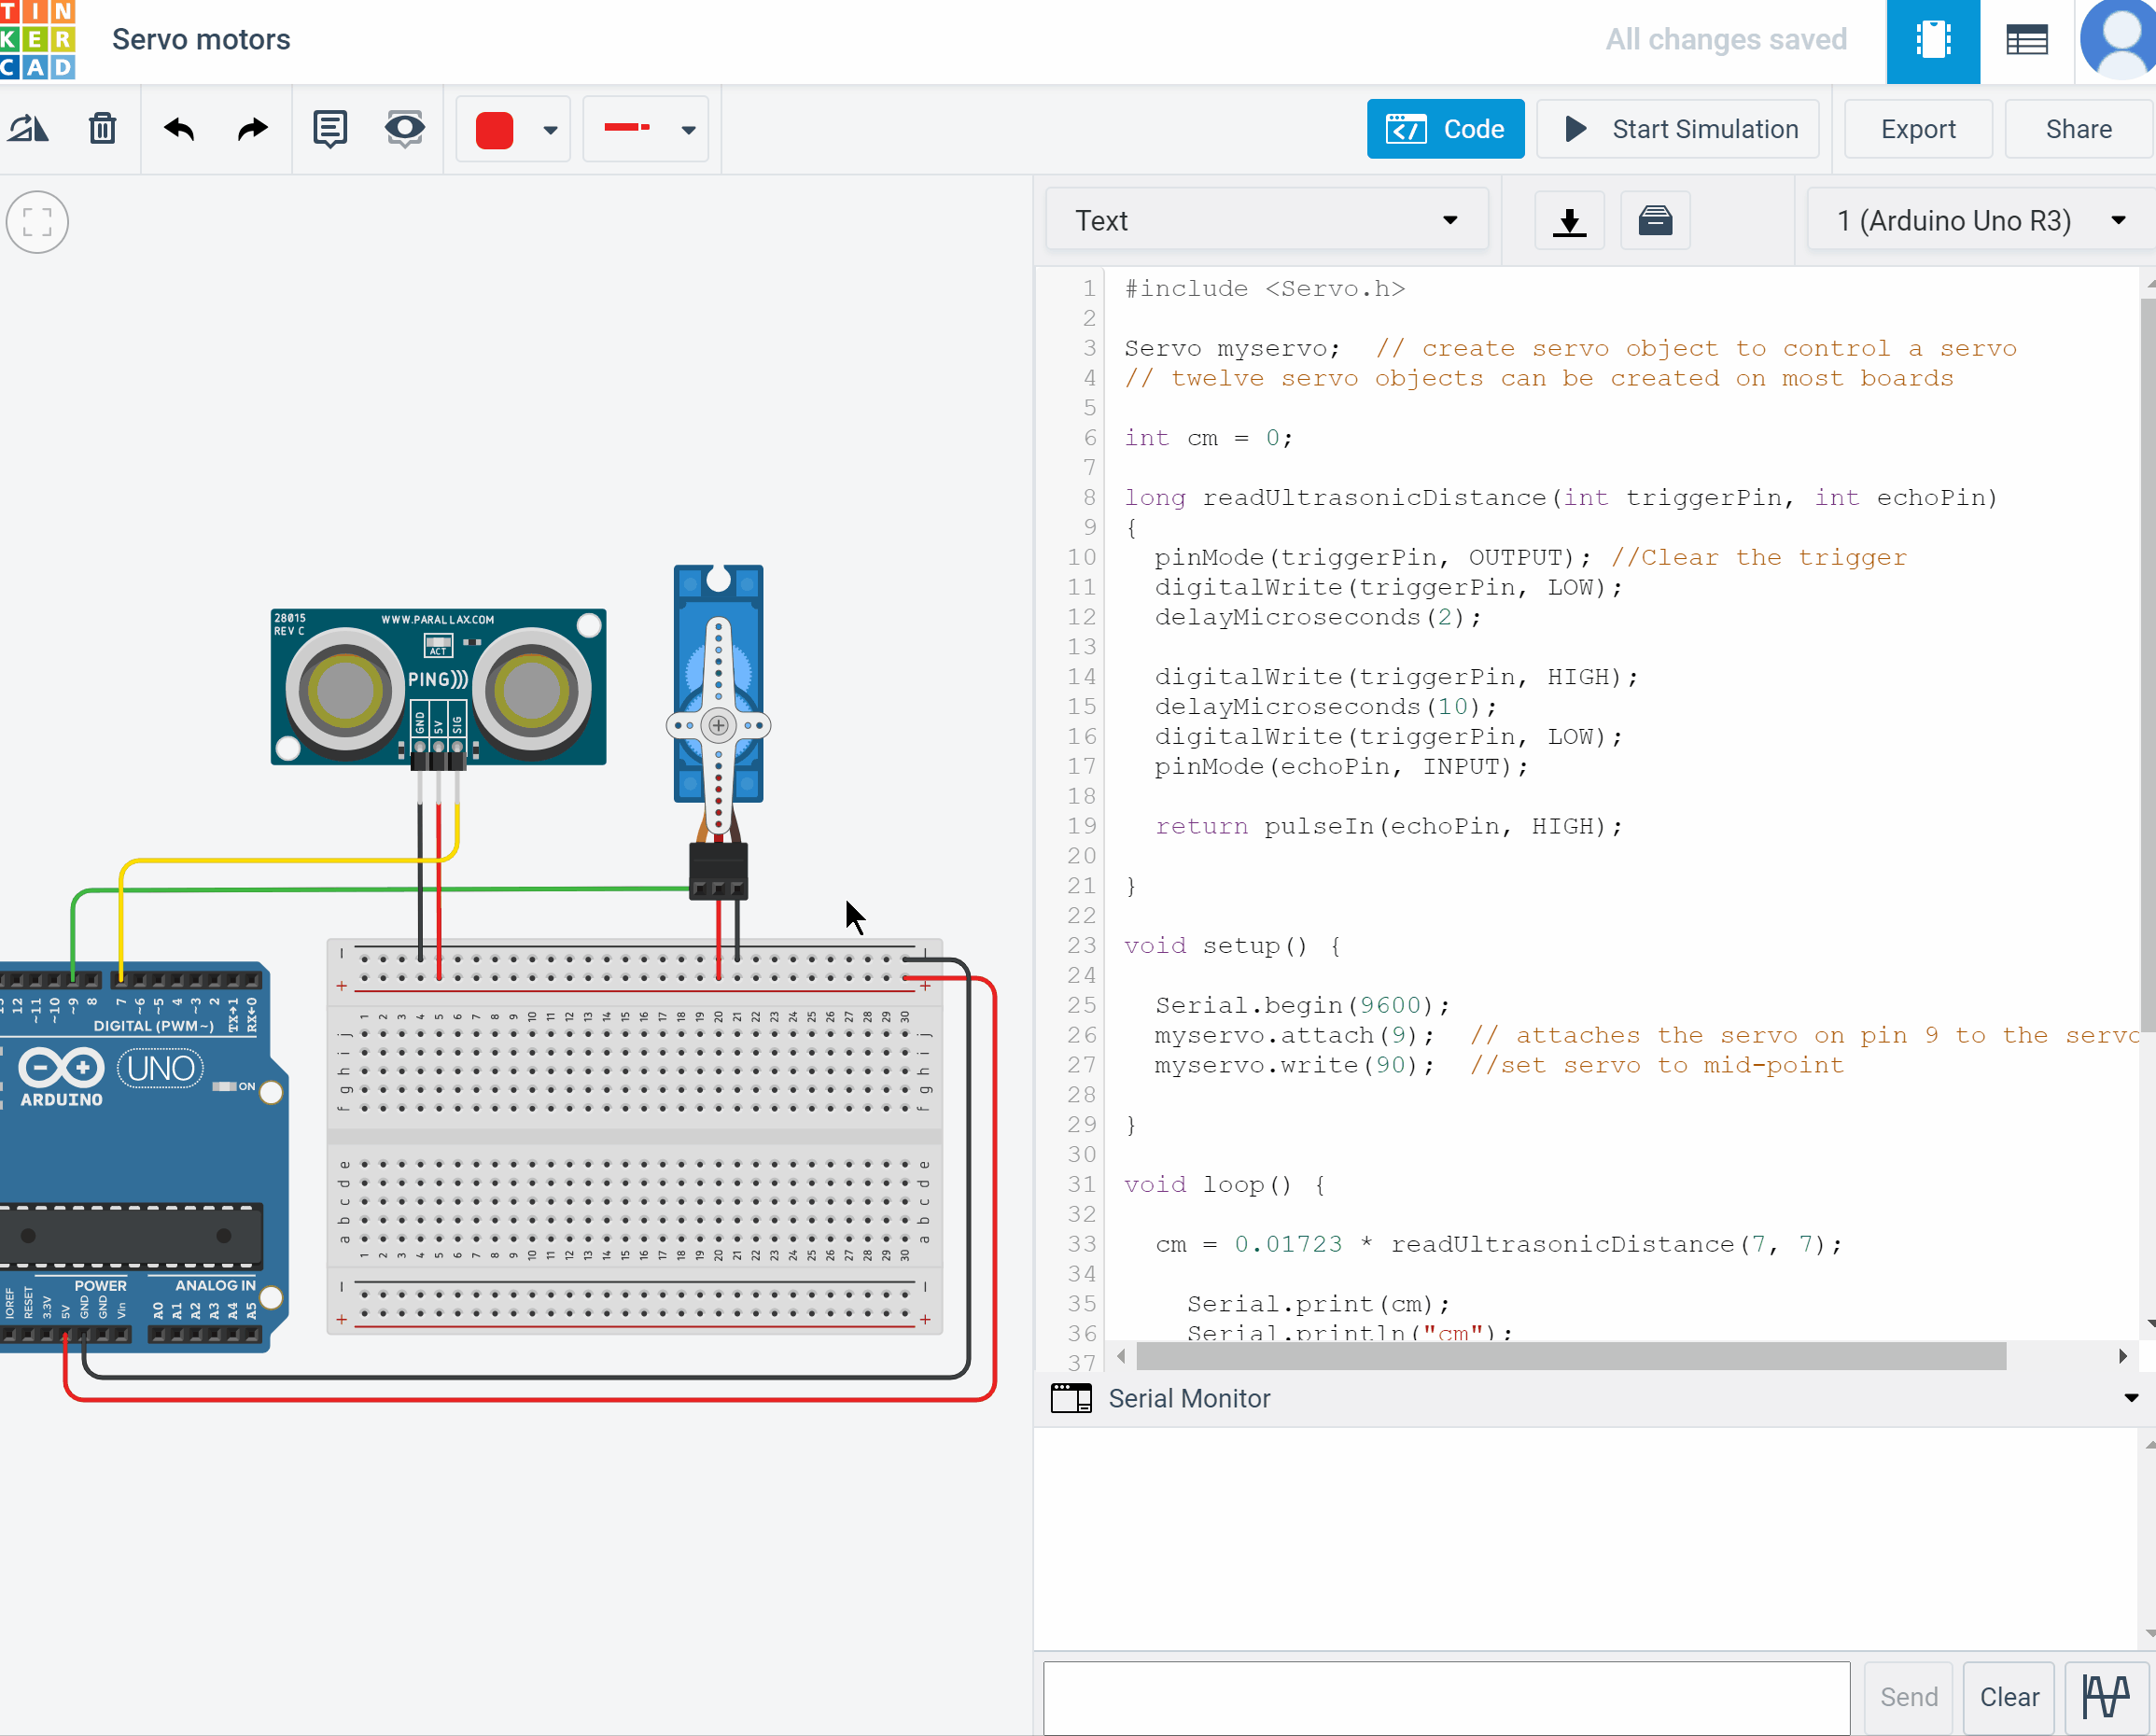
Add components:
- Arduino Uno R3 board
- Servo motor
- Ultrasonic distance sensor
- Breadboard
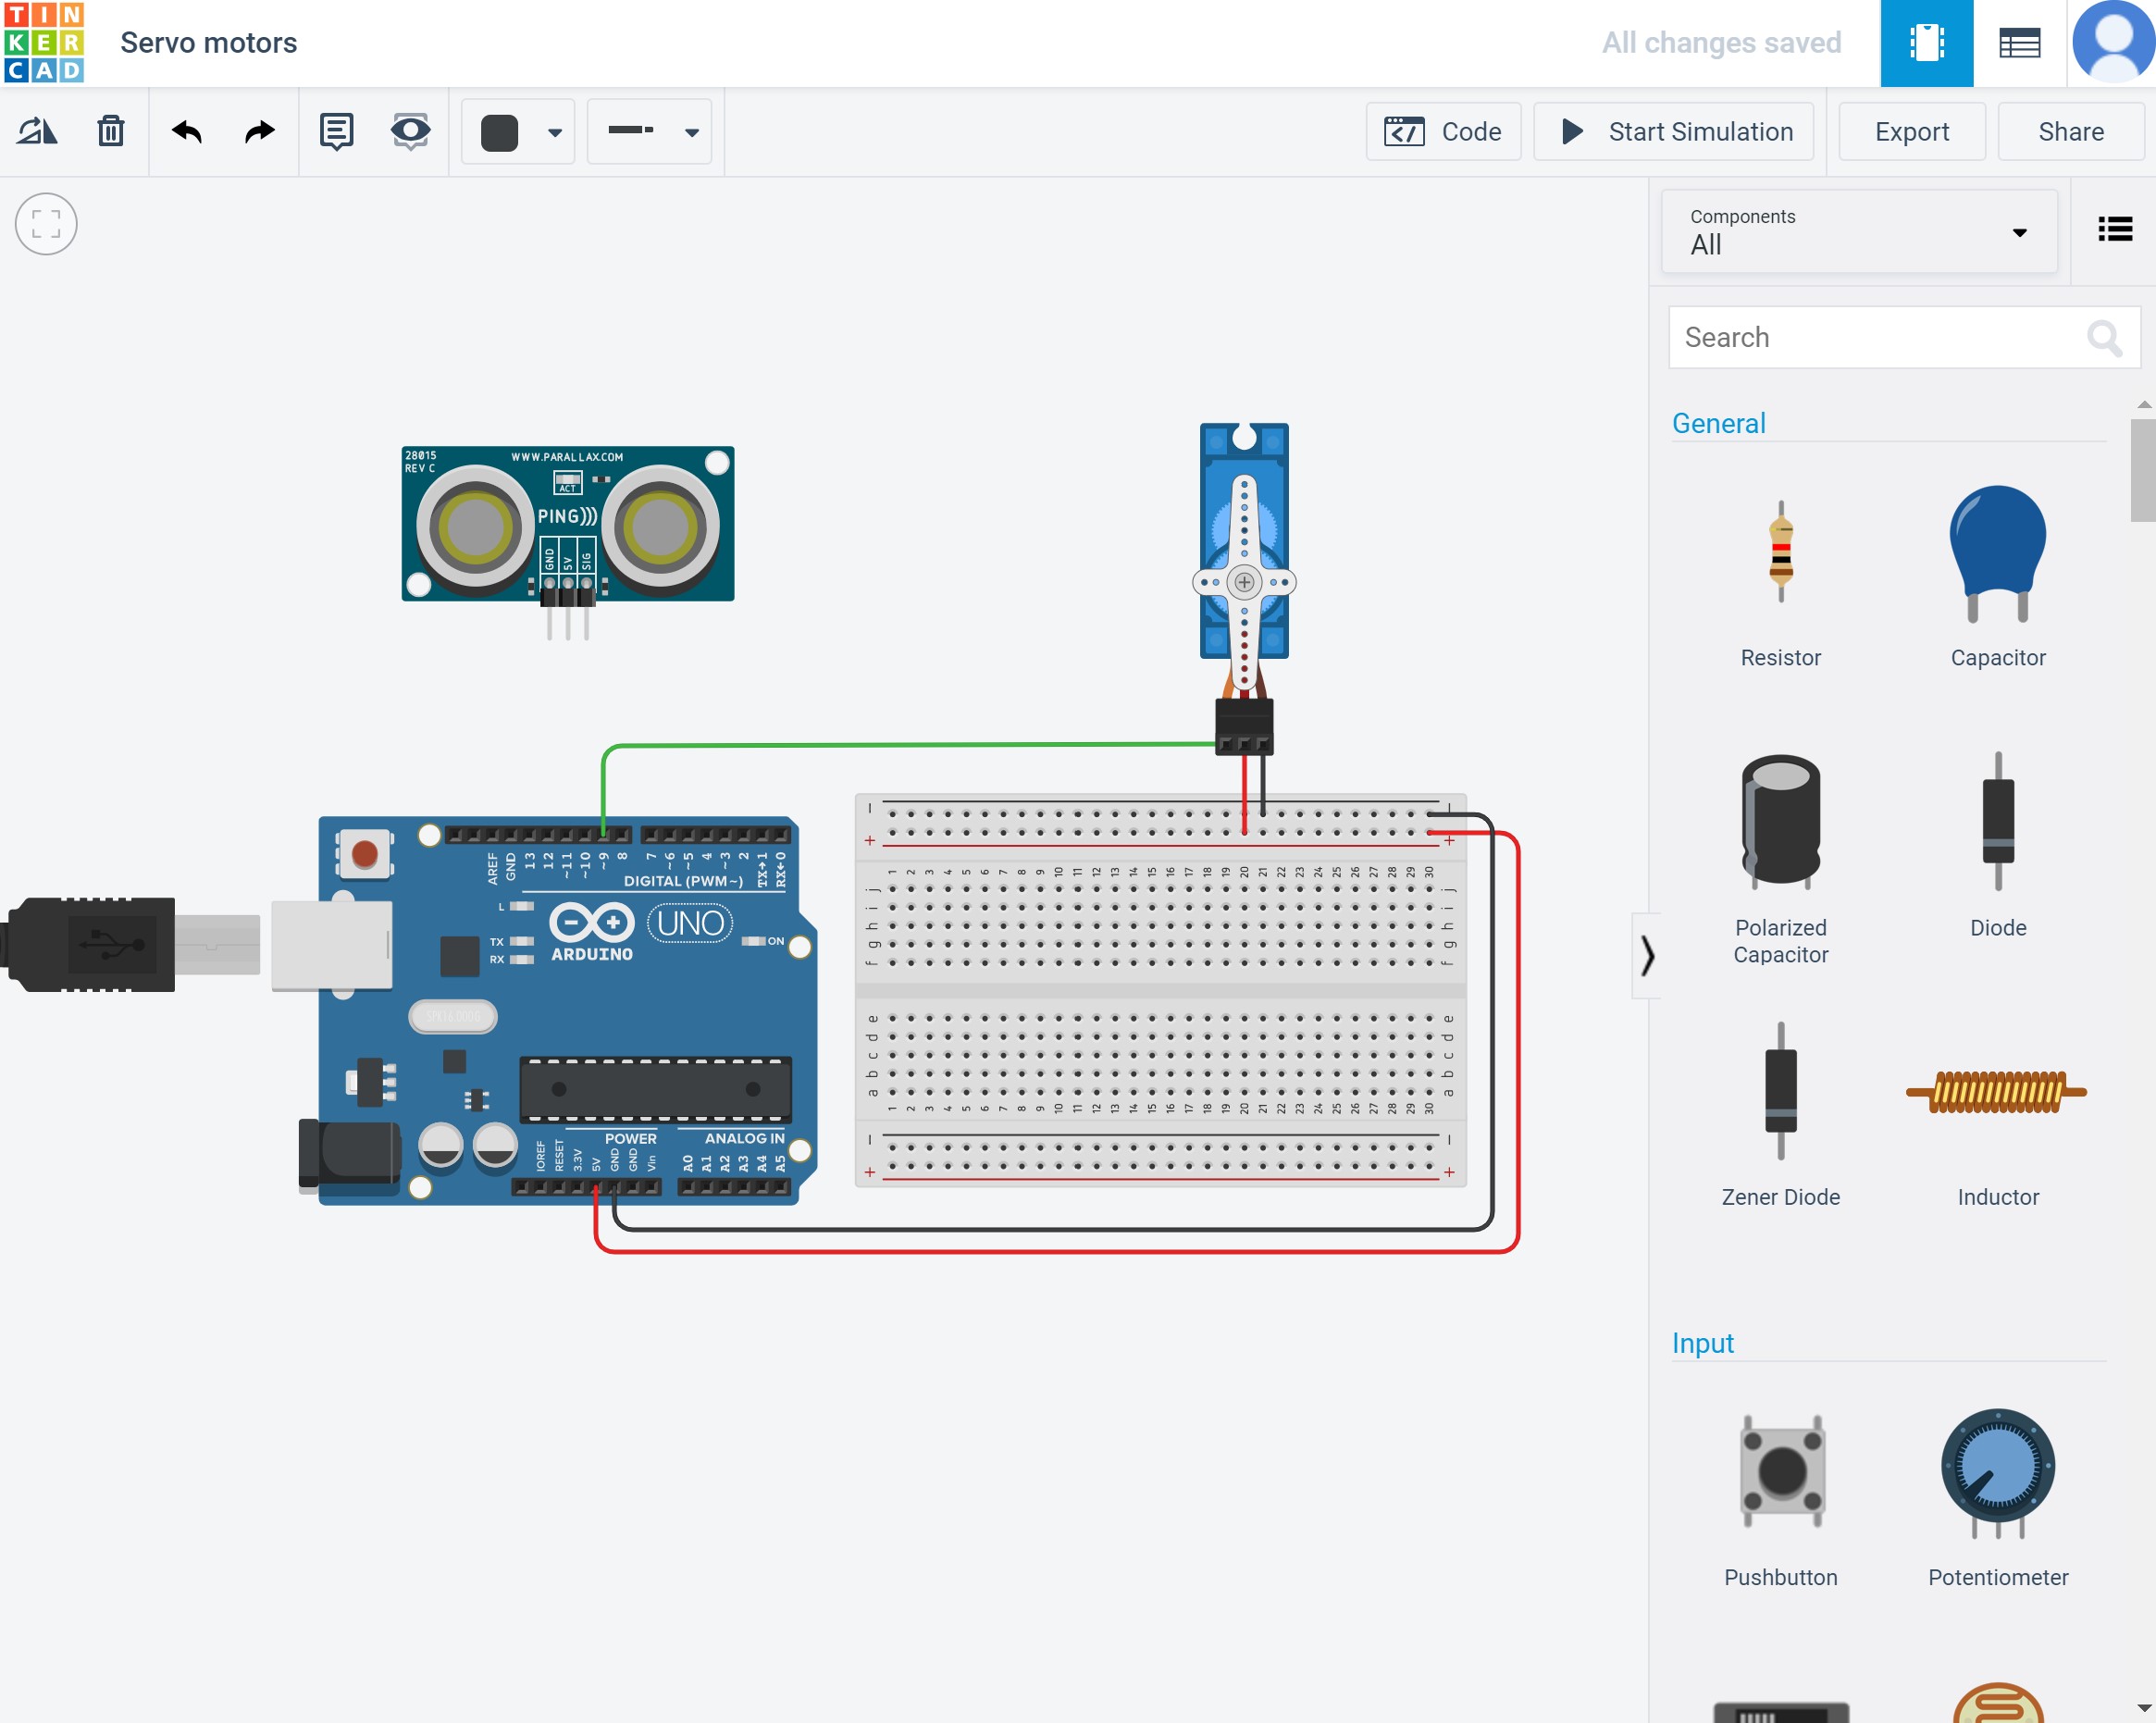
Connect servo motor:
- Connect servo motor ground pin to breadbord ground;
- Connect servo motor power pin to breadbord power line;
- Connect breadbord power line to Arduino Uno R3 5V pin;
- Connect breadbord ground line to Arduino Uno R3 gnd pin;
- Connect servo motor signal pin to Arduino Uno R3 digital pin 9;
Write code for servo motor:
We will use the built-in library to control the servo motor.
#include <Servo.h>
Servo myservo; // create servo object to control a servo
After creating servo object we go to function setup().void setup() {
myservo.attach(9); // attaches the servo on pin 9 to the servo object
myservo.write(90); //set servo to mid-point
}
Try to start simulation.
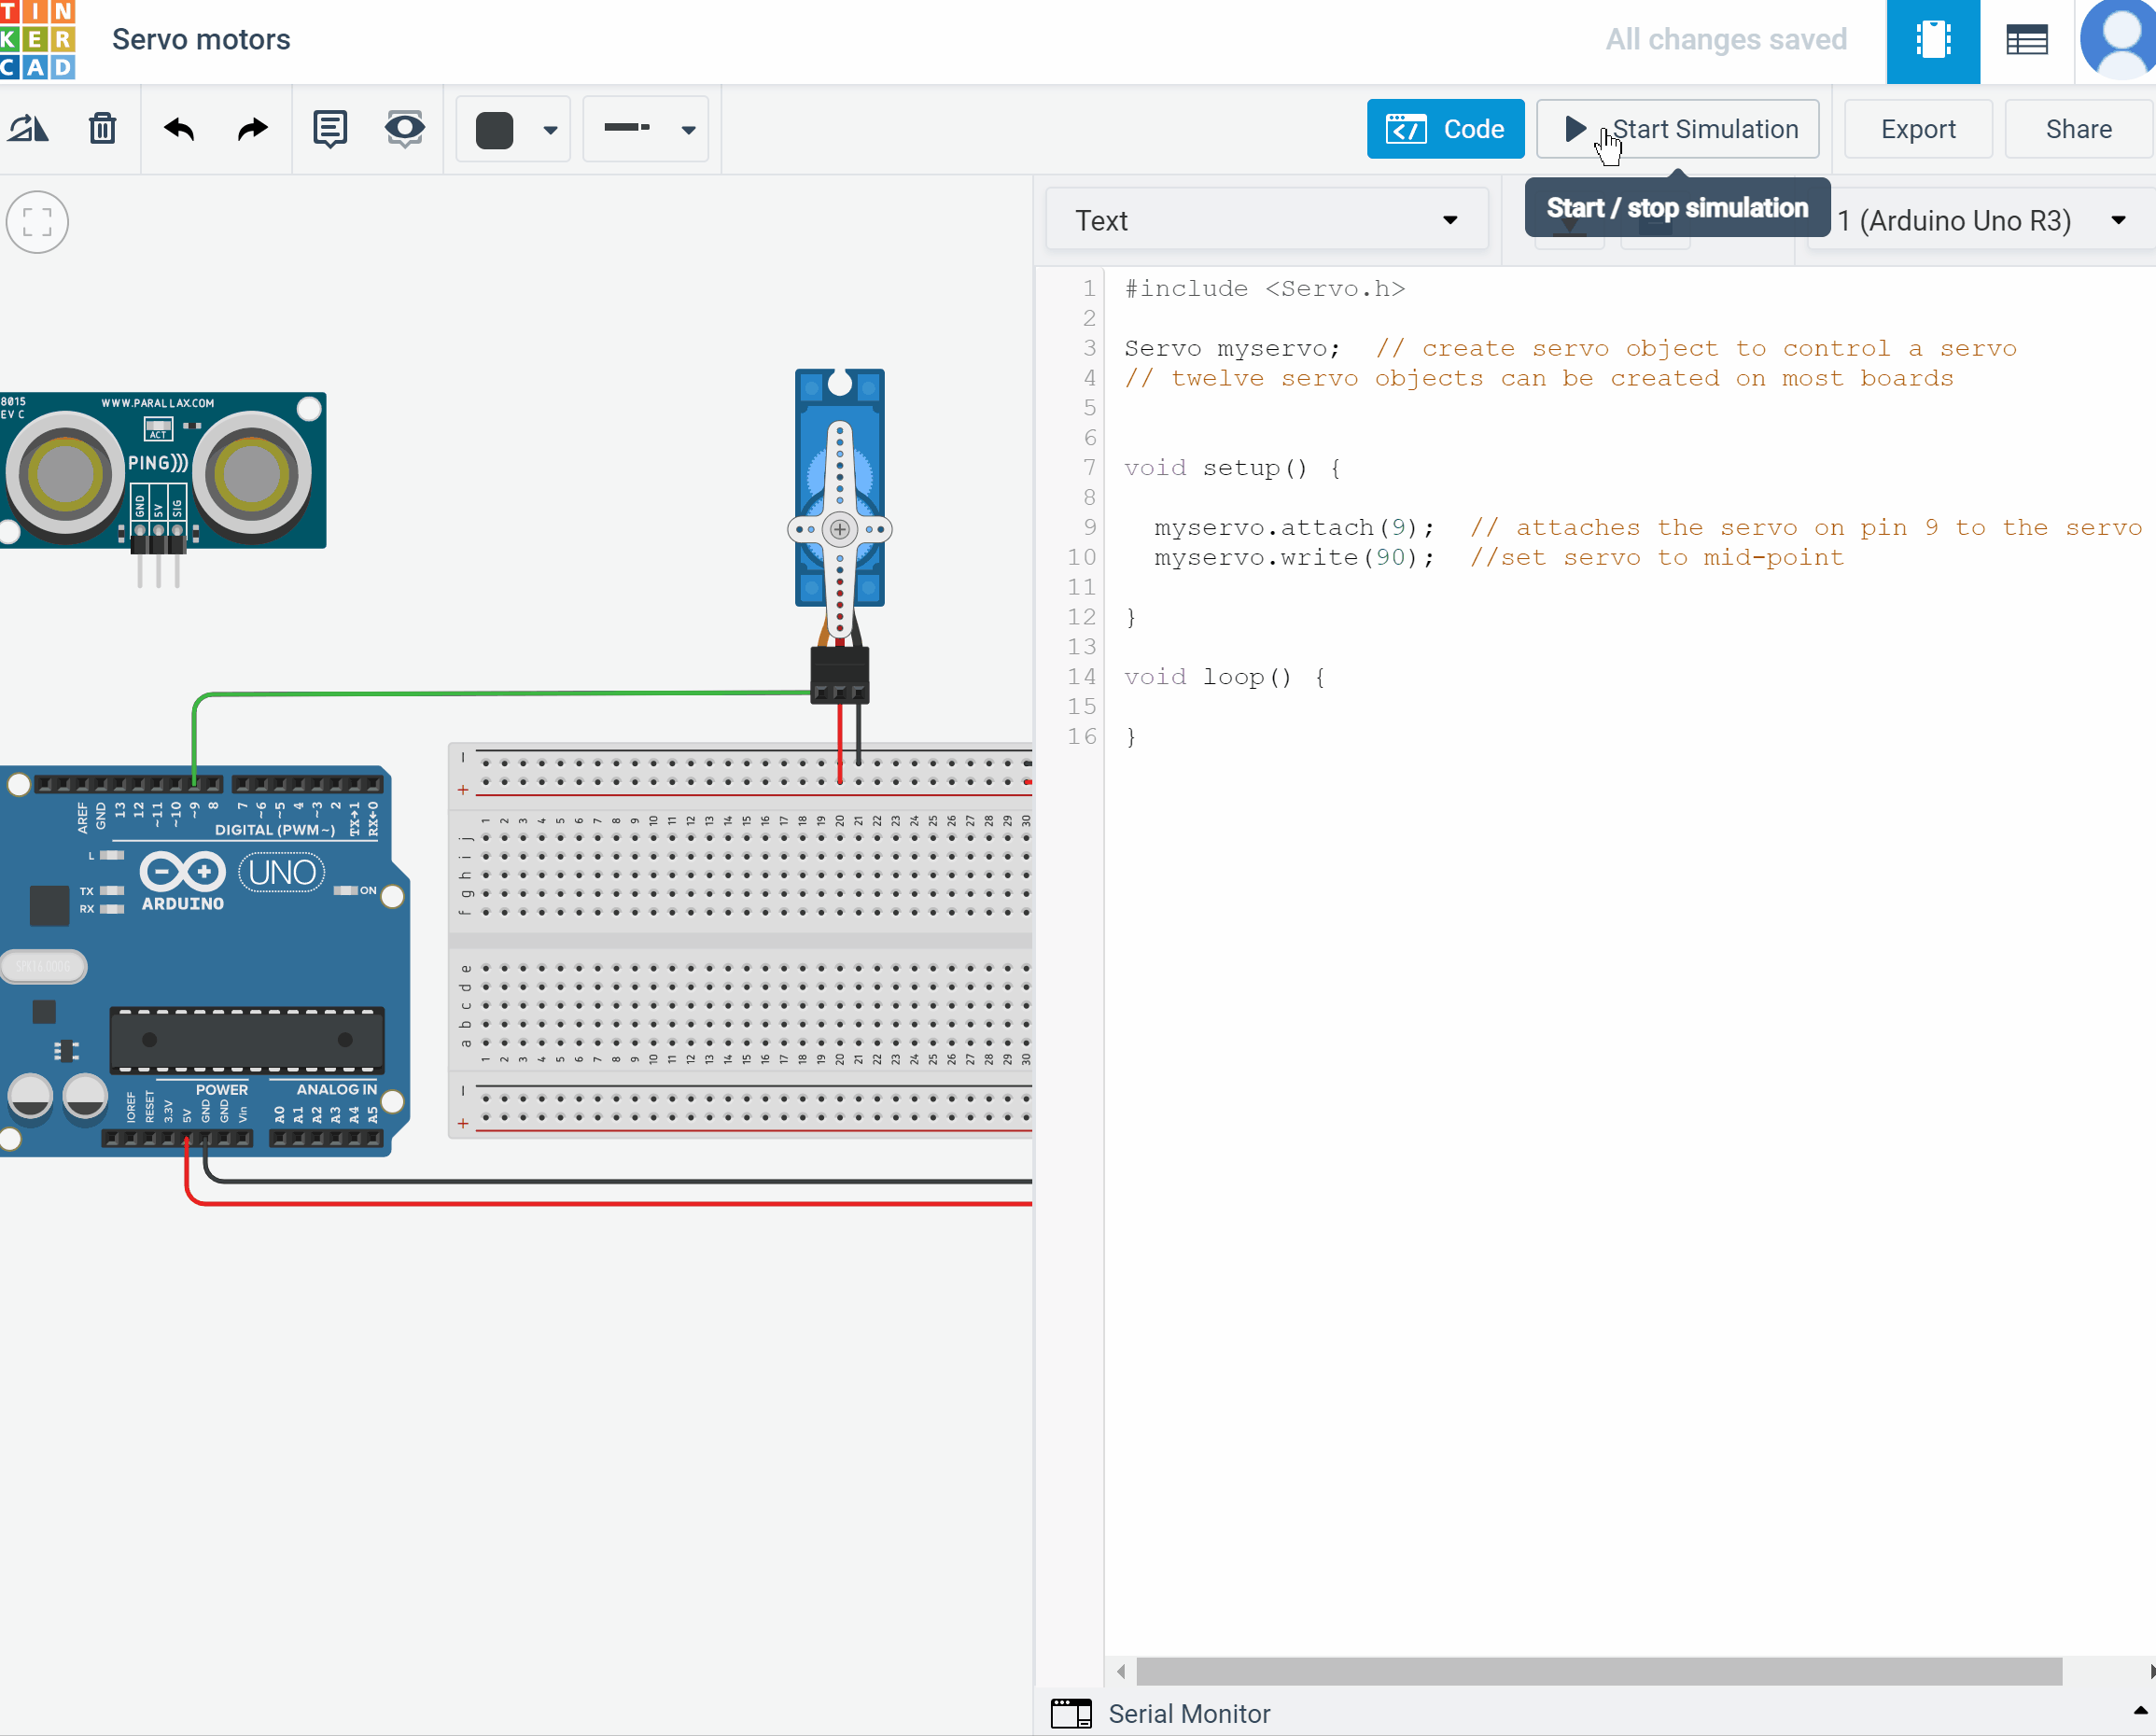
Our servo motor turn to mid-point
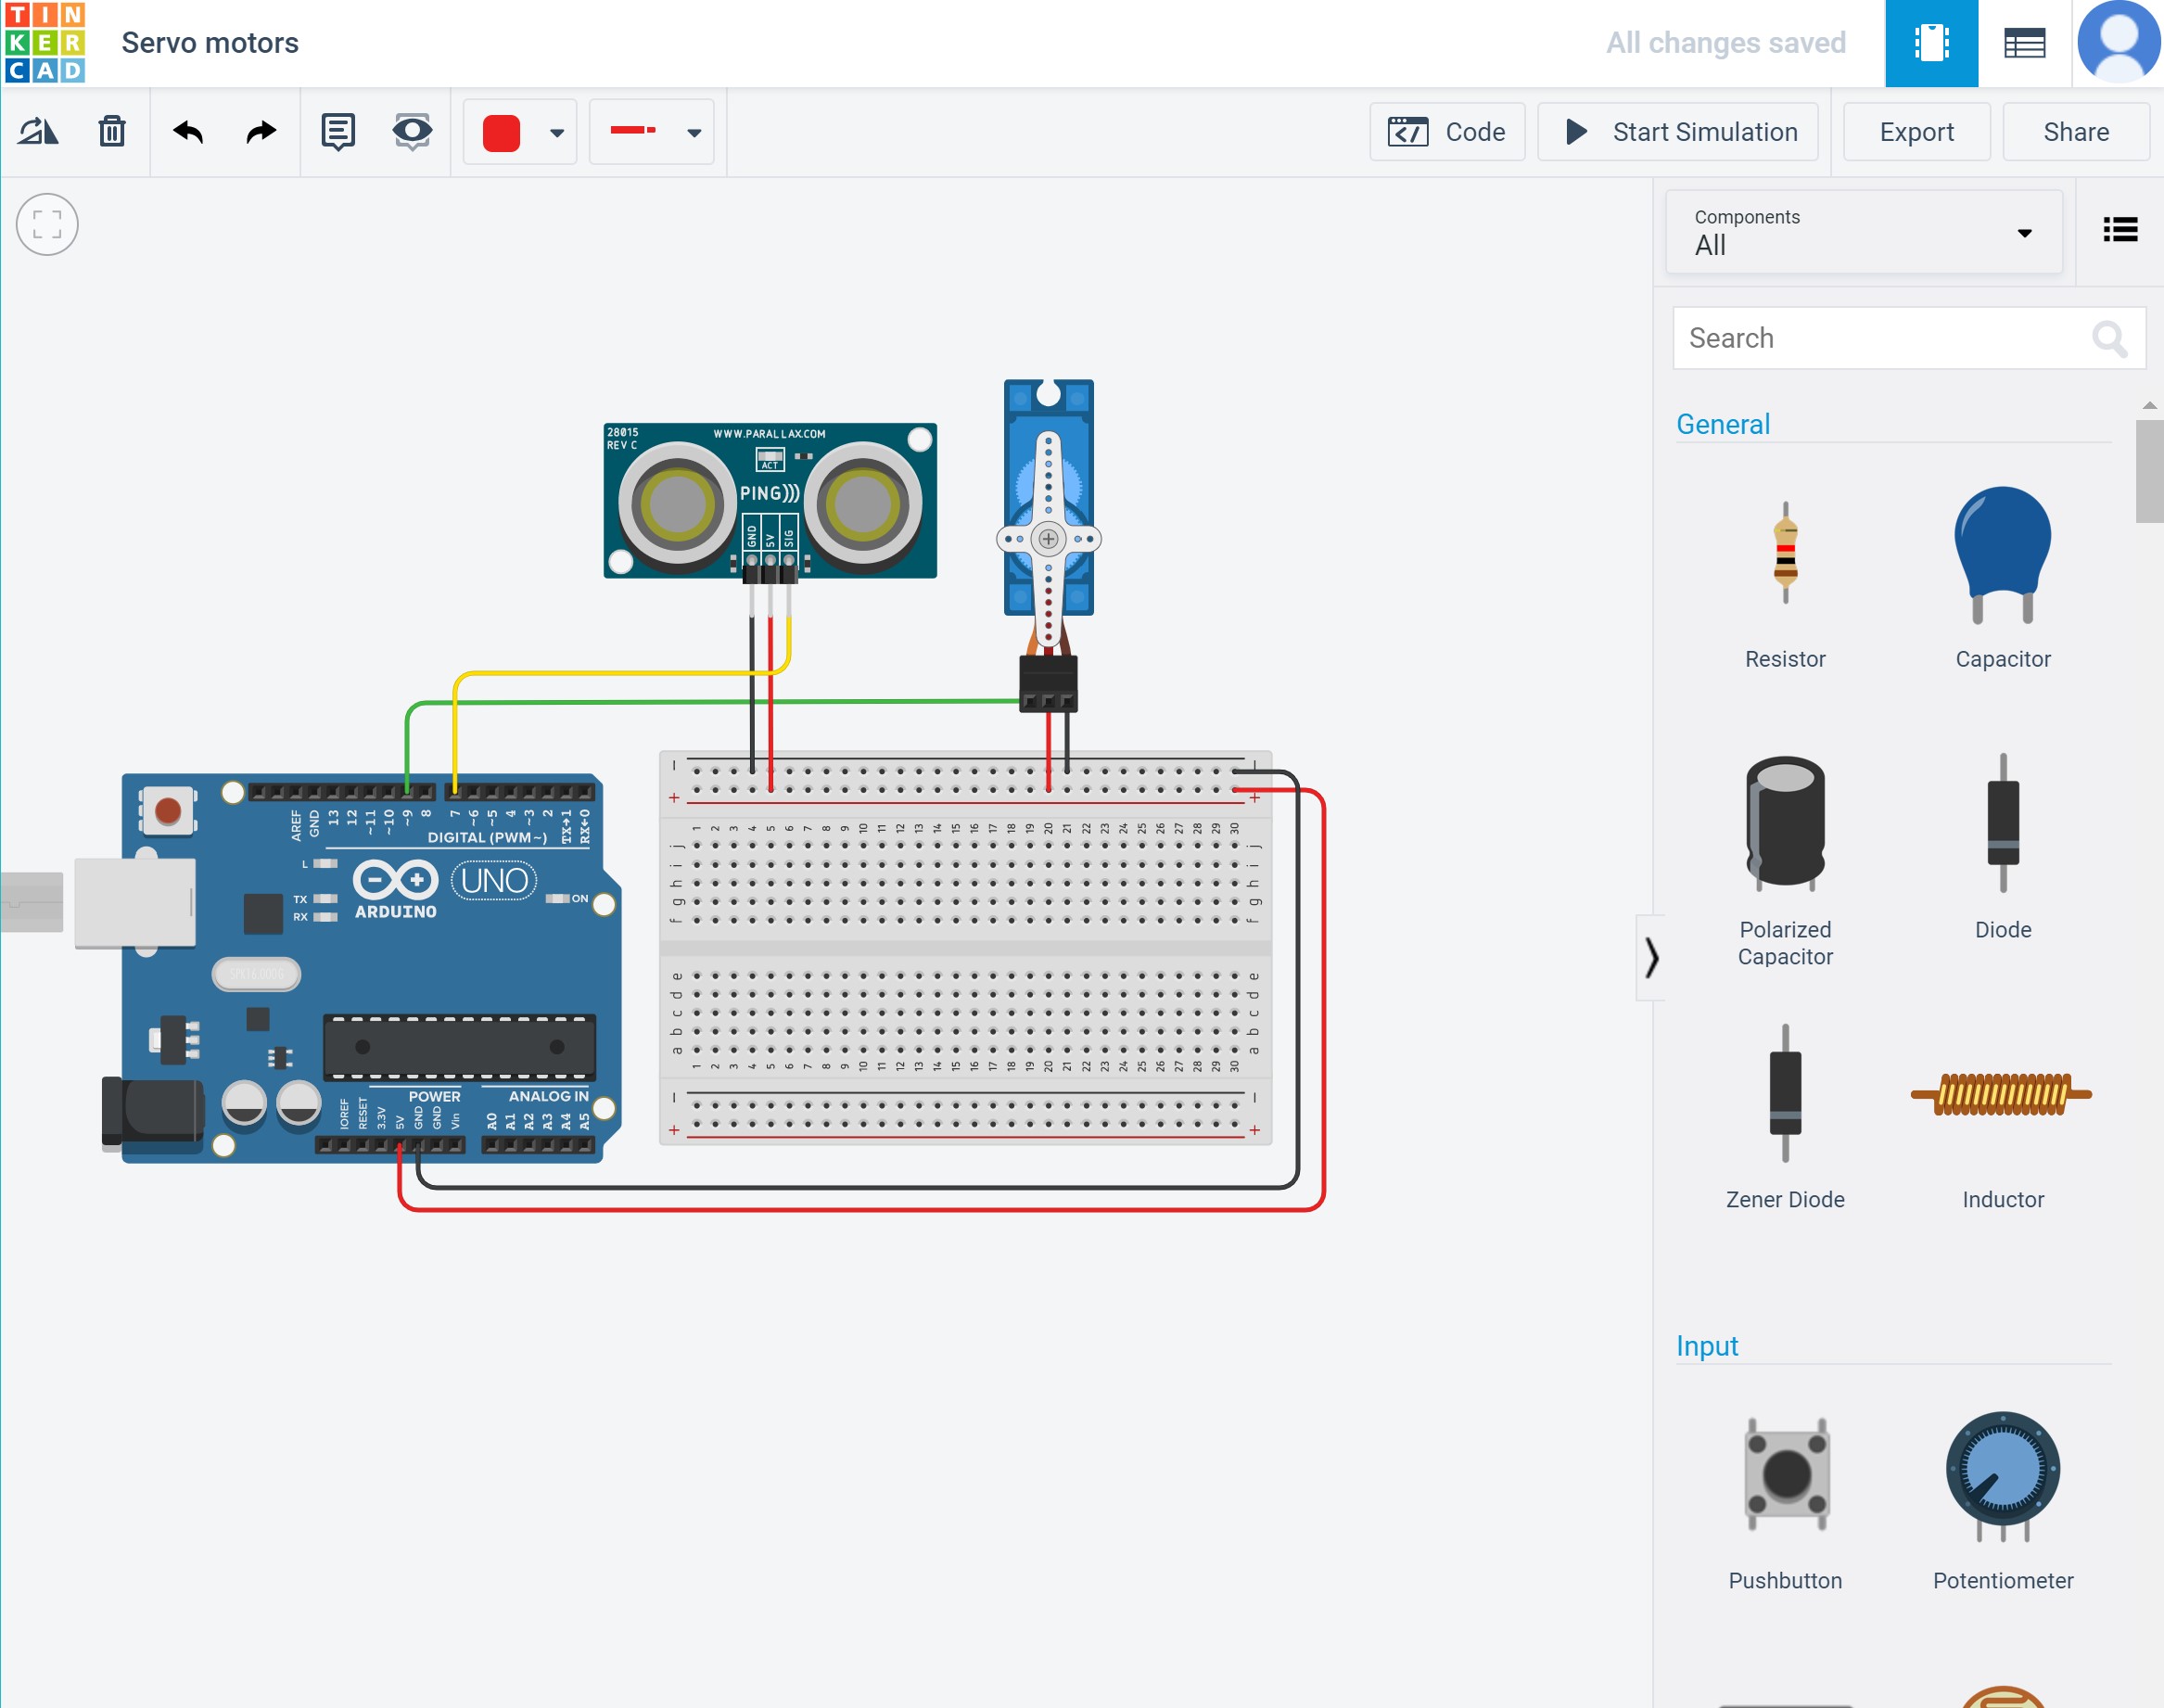
Now let's add ultrasonic distance sensor
Connect ultrasonic distance sensor:
- Connect ultrasonic distance sensor ground pin to breadbord ground;
- Connect ultrasonic distance sensor power pin to breadbord power line;
- Connect ultrasonic distance sensor signal pin to Arduino Uno R3 digital pin 7;
Add code for ultrasonic distance sensor:
Add one more variable.
int cm = 0;
Then add distance reading function.
long readUltrasonicDistance(int
triggerPin, int echoPin)
{
pinMode(triggerPin, OUTPUT); //Clear the trigger
digitalWrite(triggerPin, LOW);
delayMicroseconds(2);
digitalWrite(triggerPin, HIGH);
delayMicroseconds(10);
digitalWrite(triggerPin, LOW);
pinMode(echoPin, INPUT);
return pulseIn(echoPin, HIGH);
}Add serial baud to function setup().
Serial.begin(9600);
In function loop() add equation and send data to serial monitor.
cm = 0.01723 * readUltrasonicDistance(7, 7);
Serial.print(cm);
Serial.println("cm");
And now add if statement for servo motor.
if(cm>100)
{
myservo.write(75);
}
else
{
myservo.write(90);
}
Start simulation.
Feel free to play with code!
Add more servo motors, diodes, display, anything you want.